When facing a leaking clutch slave cylinder, many car owners often feel overwhelmed. Understanding how to fix a leaking clutch slave cylinder is crucial for vehicle maintenance. According to a report by the Auto Repair Industry Association, approximately 12 million vehicles experience clutch system failures annually. This statistic highlights the importance of timely repairs.
Expert mechanic James Anderson emphasizes, “Addressing clutch issues promptly can save you from more extensive damage later.” His insights underscore the necessity of understanding fundamental repair techniques. A leaking clutch cylinder can lead to poor vehicle performance and safety risks. Hence, knowing how to fix a leaking clutch slave cylinder effectively is not just beneficial; it is essential for all vehicle owners.
Repairing this component involves specific tools and techniques. The process, while not overly complex, requires careful attention to detail. Many drivers underestimate the significance of such repairs. However, neglecting a leaking clutch can lead to costly consequences. With the right knowledge, anyone can tackle this issue and enhance their vehicle's performance.
When dealing with a leaking clutch slave cylinder, recognizing the symptoms is crucial. A common sign is difficulty in shifting gears. You might notice that your vehicle hesitates or grinds when you try to change gears. This is often due to insufficient hydraulic pressure. If you press the clutch pedal and it feels spongy or sinks to the floor, this indicates a potential fluid leak.
Another symptom to be aware of is the presence of fluid. Look for signs of hydraulic fluid under your vehicle. If you see puddles near the clutch area, it’s time to investigate. A low fluid reservoir might also point to a leak. Additionally, strange noises when pressing the clutch pedal can suggest a problem. You might hear whining or grinding sounds that weren't present before.
Pay attention to these signs early on. Ignoring them can lead to more severe issues. A leaking clutch slave cylinder can affect your vehicle’s performance significantly. Regularly checking the system can help catch leaks before they worsen.
When fixing a leaking clutch slave cylinder, having the right tools is crucial. You'll need a wrench set. They help in loosening and tightening bolts effectively. A ratchet and socket can also save time. Don’t forget pliers; they come in handy for removing tough clips. These tools ensure precision during repairs.
Materials are equally important. Start with new hydraulic fluid; it keeps the clutch system lubricated and functional. Ensure you have replacement seals handy. They are often the source of leaks. A clean rag is essential for wiping up spills and keeping your workspace tidy. Consider a small funnel for pouring fluid without mess. It's those small details that can make the process smoother. Take your time when selecting and preparing these items.
The repair process is not always foolproof. You might find rust on some components or struggle to reach certain bolts. Experience helps, but every repair can present new challenges. Reflect on these moments; they can teach valuable lessons for future repairs. Make each repair a focused task; you’ll improve with practice.
When dealing with a leaking clutch slave cylinder, addressing the issue promptly is crucial. Start by finding a suitable workspace. Ensure the area is clean and well-lit. Wear safety gear like gloves and goggles to protect yourself during the process.
Removing the clutch slave cylinder involves several steps. Begin by locating the cylinder, usually near the transmission. Use a wrench to detach the hydraulic lines carefully. Inspect the hoses for any cracks or damage. These can contribute to leaks. Next, remove the mounting bolts. Sometimes, these bolts can be stubborn and may require extra torque. Be mindful not to strip them.
Once you have removed the cylinder, check for signs of wear. Corrosion or cracks may indicate why the cylinder was leaking. It’s important to have a replacement ready. A new cylinder should fit properly without any modifications. Take your time during reinstallation to ensure everything aligns correctly. Missing minor details might lead to future leaks or malfunctions. Patience is key in this process. Don't rush, and always double-check each connection before finishing.
| Step Number | Task | Tools Needed | Estimated Time |
|---|---|---|---|
| 1 | Gather Tools | Wrench set, ratchet, fluid catch pan | 10 minutes |
| 2 | Access Slave Cylinder | Jack and stands, socket set | 15 minutes |
| 3 | Remove Hydraulic Lines | Line wrench | 10 minutes |
| 4 | Unbolt Slave Cylinder | Socket set, torque wrench | 10 minutes |
| 5 | Install New Slave Cylinder | Socket set, torque wrench | 15 minutes |
| 6 | Reconnect Hydraulic Lines | Line wrench | 10 minutes |
| 7 | Bleed the Clutch System | Bleeder tool, catch container | 20 minutes |
| 8 | Test Clutch Operation | N/A | 5 minutes |
Inspecting and cleaning a leaking clutch slave cylinder is essential for effective maintenance. Start by safely lifting the vehicle and removing the wheel for better access. Check for visible leaks and signs of fluid on the cylinder and surrounding components. Even small amounts of fluid can indicate a problem. Use a flashlight to inspect hard-to-see areas.
Before cleaning, ensure the area is free of grime and debris. A damp cloth can help wipe down the outer surfaces. Next, use brake cleaner to remove any built-up residue. It’s common for dirt to accumulate, making inspection difficult. A clean surface allows for a thorough evaluation of the cylinder condition. Make sure to wear protective gloves and eyewear during this process.
After cleaning, thoroughly check for cracks or wear. Even a small imperfection can lead to bigger issues. Any discoloration might suggest internal damage. If everything looks good, you can proceed to assess whether replacement is necessary. If not, regular checks on the cylinder can prevent future leaks and prolong its life. It’s a small task but can save time and money in the long run.
When replacing a clutch slave cylinder, proper installation is crucial for optimal performance.
Start by gathering the necessary tools: wrenches, a socket set, and a torque wrench. Ensure you have a clean workspace.
Good lighting can make a big difference. Prepare to remove the old part. Inspect surrounding components for wear or damage.
This could save you from future headaches.
Carefully detach the old slave cylinder. Pay attention to how the connections are made; this will guide you during the new installation.
The new component should be aligned precisely. O-rings and seals need to be lubricated before installation.
This helps create a watertight seal, preventing future leaks. It’s important to tighten bolts to the manufacturer-recommended specifications,
but don't overdo it. Stripping threads is a common issue and can lead to costly repairs down the line.
Once everything is connected, check for any air in the system. Bleeding the clutch line is critical.
This ensures that the slave cylinder functions smoothly. Take your time with this step.
Rushing could lead to a poor pedal feel or inefficient operation.
After installation, test the clutch operation. Look for any strange noises or misalignments.
These can indicate something wasn't installed correctly. Trust in the process, but be ready to troubleshoot.
: Symptoms include difficulty shifting gears and a spongy clutch pedal.
Look for hydraulic fluid puddles under the vehicle. Check the clutch area for signs of leakage.
Listen for whining or grinding sounds when pressing the clutch pedal. These may signal issues.
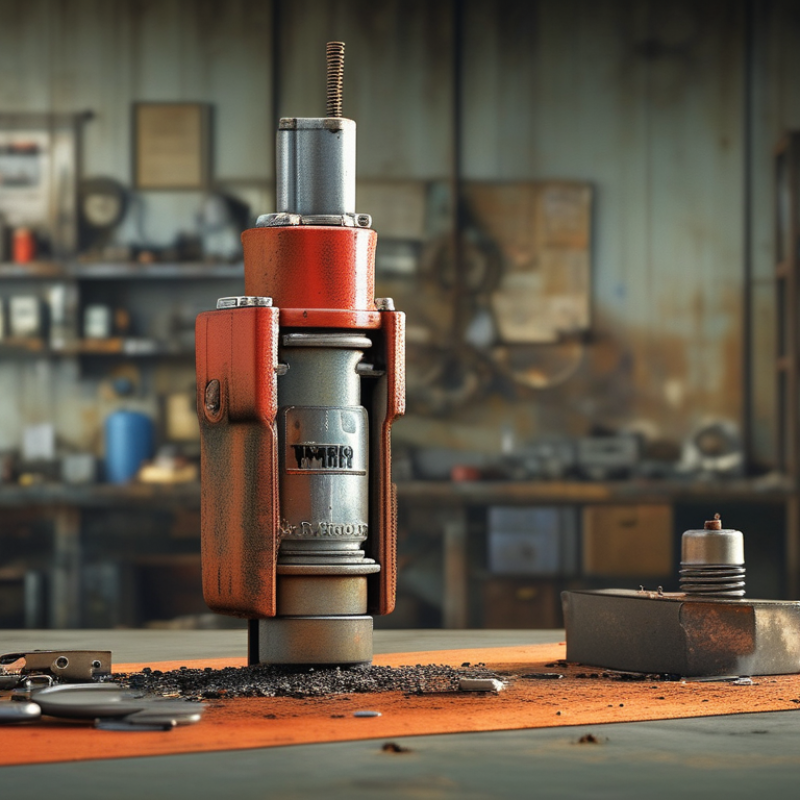
Essential tools include a wrench set, ratchet, socket, and pliers. These help with loosening and tightening bolts.
You’ll need new hydraulic fluid, replacement seals, and a clean rag to manage spills.
It can be challenging. You may encounter rust on components or difficulty reaching certain bolts.
Preparing your tools and materials can make the process easier. Careful selection is key to success.
Reflect on the challenges faced during repairs. Each experience offers valuable lessons for next time.
Regularly check for leaks and fluid levels. Catching issues early can prevent more severe problems later.
In the article "How to Fix a Leaking Clutch Slave Cylinder Easily", readers will discover essential steps to effectively address this common automotive issue. The article begins by guiding users on how to identify symptoms of a leaking clutch slave cylinder, such as difficulty in shifting gears or a spongy clutch pedal. It then outlines the necessary tools and materials required for the repair process.
A comprehensive step-by-step guide is provided for removing the clutch slave cylinder, along with detailed instructions on inspecting and cleaning the cylinder before replacement. Finally, the article concludes with helpful tips for properly installing the new clutch slave cylinder to ensure optimal performance. Overall, this article serves as a practical resource for anyone looking to learn how to fix a leaking clutch slave cylinder with confidence.
TVC Auto